CDN for your Business Website – Part 2


By Logesh Kumar
In this Part 2 of the “CDN for your Business Website” Series, I will cover two topics. The first one is to “Create an Amazon Web Services” account and to “Create a Distribution in Amazon CloudFront”. If you have any questions about the Basics of CDN, check the Part 1.
Creating an AWS Account
To implement a CDN using Amazon CloudFront, we require AWS Account, You can easily create an account here – http://aws.amazon.com/
It is mandatory to enter your Card Details to activate AWS Services. Still, you pay for what you use. The pricing is clearly mentioned in the Pricing section of each and every service in AWS. Below are the quick steps:
- Create an account here – http://aws.amazon.com/
- Complete Phone Verification
- Enter Card details and activate your AWS Account
Video Source: AWS
Create a Amazon CloudFront Distribution
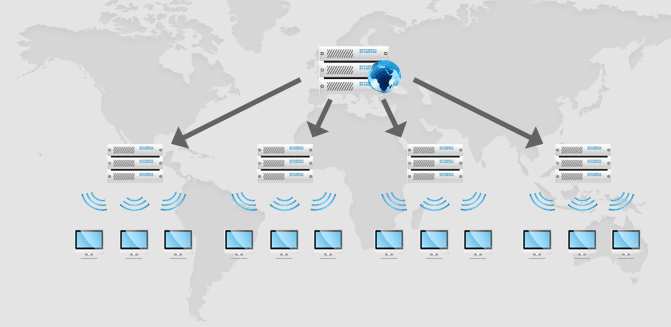
A Distribution refers to a network of Edge Locations around the world. In this post, we utilize “Custom-Origin” server. i.e., Your GoDaddy or Hostgator server. Technically, you need ot migrate your site files to S3 buckets. It will remain hosted with your present hosting provider.
Quick Steps for creating a Distribution:
- Login to AWS Console (Make sure that the account is activated after entering your card details)
- Open “Amazon CloudFront”
- Click on “Create Distribution”
- Enter your Origin as your domain without “http”
- The remaining on-screen options can be set to default unless you need a customized Distribution.
- Click on “Save”
Your New Amazon CloudFront Distribution is ready! It will take couple of minutes to deploy. Once done, you can directly implement on your site. The implementation steps will be described in Part 3.
Author Profile
- Logesh Kumar, Senior SEO Consultant at ClickDo Ltd. Get connected on Google+.
Latest entries
 Content MarketingFebruary 4, 2019How Effective Marketing can Double your Sales?
 BloggingAugust 16, 2018How to Build Your Business Blog with Solid Content?
 Page SpeedAugust 15, 2018Google Tag Manager – Why Your Business Website Should Have?
 Google UpdatesAugust 14, 2018What to do when Rank Shuffle due to Google Algorithm Update?

